Accessing Netgear ReadyNAS from modern browsers
You may have read in another post that accessing the NetGear ReadyNAS UI from modern browsers normally does not work. What I mean is that modern browsers typically do not allow you to successfully connect to any page in the NetGear UI.
This happens because the ReadyNAS is configured to redirect any http requests to https. This is generally a good thing, but the ReadyNAS OS is old enough that it only supports ancient protocols for completing the supposedly secure connection. With most, if not all, modern mainstream browsers, like Safari, Chrome, and Firefox, this fails, leaving you out in the cold.
I also outlined how you could make a simple modification to get around this problem, provided you have root access to the unit. So, what if you don’t have that kind of access? Here is how I got access to (the disks in) my first ReadyNAS unit, originally bought in 2008!
Using an older browser
Normally, you would approach this unit using a browser and browse to https://<ip address>/admin. You would then be redirected to https and prompted to enter the username (admin) and password (whatever you set).
The problem arises when the ReadyNAS web server tells your browser to go to the https version of the url. Your browser attempts to do so, and a protocol called TLS then negotiates a TLS version and the encryption method (cipher) to use.
Modern browsers may not always accept the TLS version offered by the ReadyNAS. Even if they do, they will often not accept the offered cipher(s) because they are considered insecure.
Theoretically, you can configure some browsers to deal with that:
- Safari: Has no option. The accepted versions are controlled at the operating system level, and Apple does not let you modify them. This may also be the reason I had no success with Chrome or Firefox, despite the approaches outlined below.
- Chrome
- MacOS: Shut down all running copies of Chrome. Then, in the terminal, issue the command:
/Applications/Google\ Chrome.app/Contents/MacOS/Google\ Chrome --ssl-version-min=tls1.0 - Windows: Shut down all running copies of Chrome. Then, open the “Command Prompt” and enter
"C:\Program Files\Google\Chrome\Application\chrome.exe"--ssl-version-min=tls1.0
- MacOS: Shut down all running copies of Chrome. Then, in the terminal, issue the command:
- FireFox: Download an older version and browser to
about:configand then modify thesecurity.tls.version.minto1(which means TLS1.0)
The browser approach did not work for me at all. Most likely due to being on macOS. So I set out to find another approach.
HAProxy to the rescue
HAProxy is a program that performs load balancing, typically used to direct traffic to a single system while allowing HAProxy on that system to connect to multiple actual servers. HAProxy manages those servers by tracking which ones are functioning correctly and distributing the overall load between them.
We need none of that, but it also has a feature that accepts an http request and passes it on as an https request. Since it controls negotiations with the ReadyNAS (in this case) and can be configured to handle older versions, this effectively hides the issue from your browser.
So, now the question becomes how and where to run HAProxy. There are several options, briefly described below. I used a Docker-based approach because it allows my main system to be completely “clean.”
- macOS Desktop: Use Homebrew with the
brew install haproxycommand. Create a configuration file namedhaproxy.cfgand then run the commandhaproxy -f haproxy.cfg. Some more documentation is also available, but it is not tailored to this scenario. - docker: Install Docker, or Docker Desktop, and then run this command:
docker run -d --name my-haproxy \
-p 80:80 \
-v /path/to/your/haproxy.cfg:/usr/local/etc/haproxy/haproxy.cfg:ro \
--restart=unless-stopped \
haproxy:latest
. Replace the path to the config file as appropriate (it might be sufficient to use-v .:/usr/local/etc/haproxy/haproxy.cfg:ro).
The configuration file I ended up using:
1
2
3
4
5
6
7
8
9
10
11
12
13
14
15
16
17
18
19
20
21
22
23
24
25
26
27
28
29
30
31
32
33
34
35
36
37
global
  log stdout format raw local0

defaults
  log global
  mode http
  option httplog
  timeout connect 5s
  timeout client  60s
  timeout server  60s

listen stats
    bind 192.168.63.220:8008
    mode http
    stats enable
    stats uri /stats
    stats refresh 10s
    stats auth admin:strongpassword

frontend fe_starnas
  bind :8081
  default_backend be_starnas

backend be_starnas
  mode http
  #
  # Force Apache vhost selection for actual proxied requests
  http-request set-header Host starnas.office.local

  # HTTP health check (HEAD /) and accept any 2xx/3xx
  option httpchk
  http-check send meth GET uri /shares/ ver HTTP/1.1 hdr Host starnas.office.local hdr Connection close
  http-check expect rstatus (?:401|2[0-9][0-9]|3[0-9][0-9])

  #
  # Force HAProxy to be permissive to the legacy TLS endpoint
  server bignas 192.168.63.234:443 ssl verify none sni str(starnas.office.local) ssl-min-ver TLSv1.0 ssl-max-ver TLSv1.2 ciphers "ALL:@SECLEVEL=0" check check-ssl check-sni starnas.office.local rise 2 fall 3 inter 5s
A few more things to note:
- Make sure that you substitute all instances of
starnas.office.localwith the name of your ReadyNAS, or rather what it believes its name is. If you don’t know, you might be able to discover it by using your router’s UI to find DHCP leases. If you do know the hostname that you configured at the time, you tack on the name of your network. For most Apple-based folks, that will be.local. I have multiple networks, so in my case, I had to add.office.localafter the known hostname ofstarnas. Adapt this for your particulars. - Replace the ip address in
bind 192.168.63.220:8008with the IP address of the computer where HAProxy runs. This section of the configuration lets you browse tohttp://192.168.63.220:8008/statsto view HAProxy connection statistics.
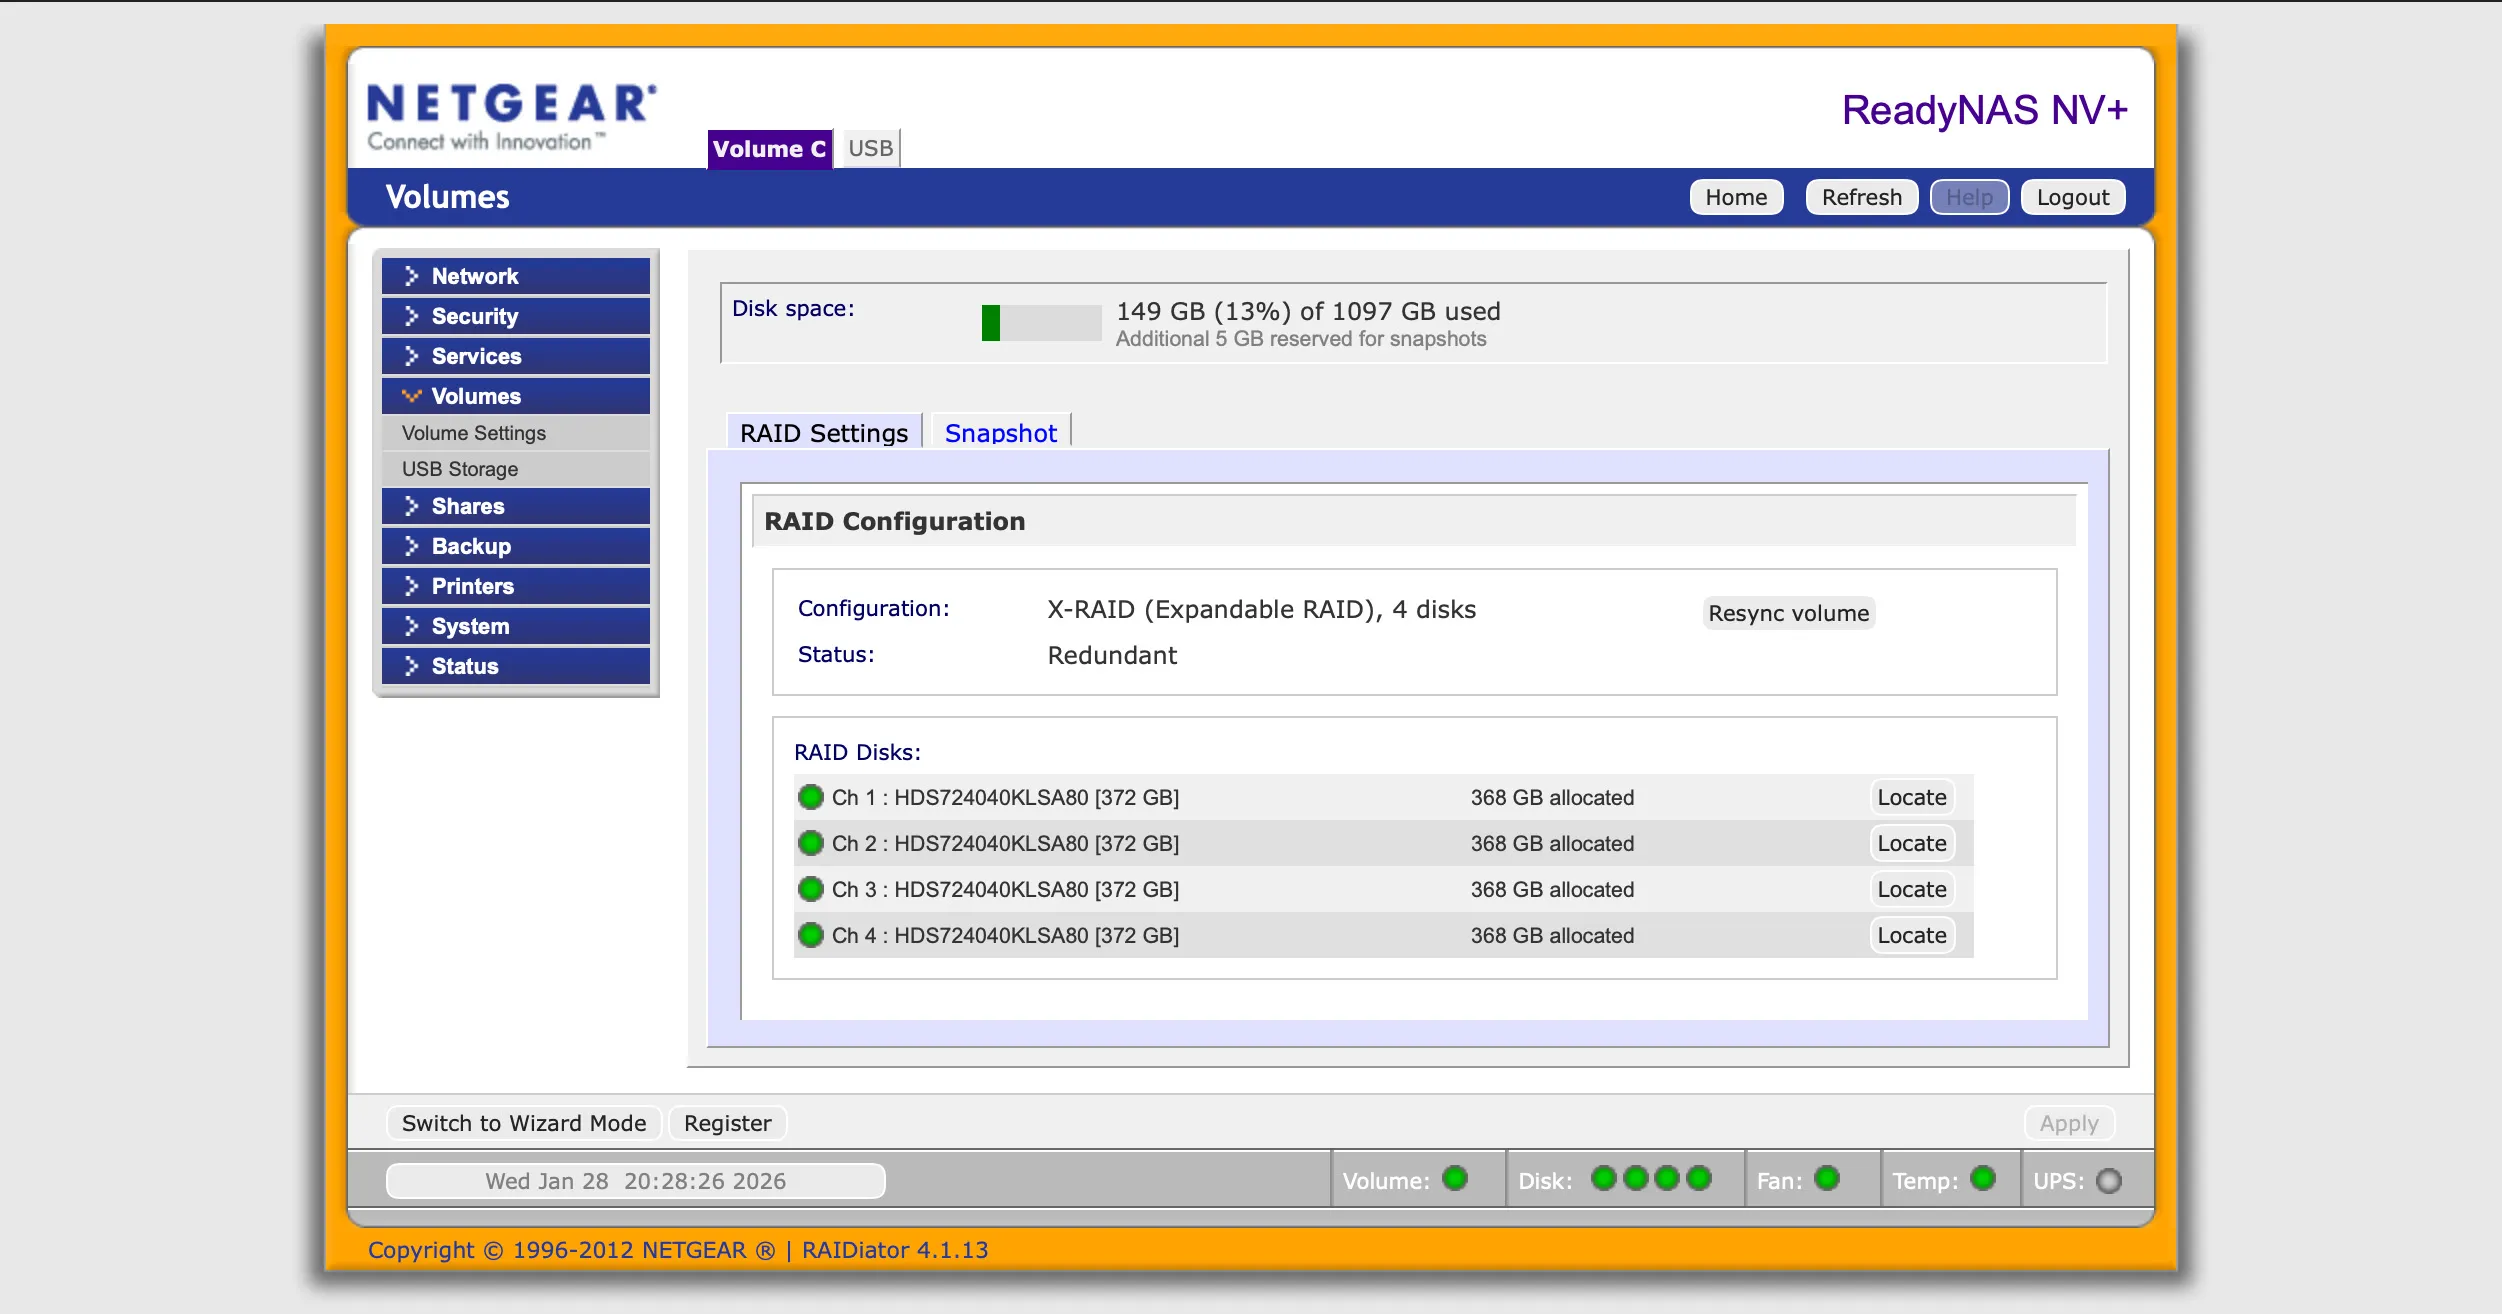
With this configuration, you should be able to make http connections to port 8081 on the system that runs HAProxy. HAProxy will then forward all traffic to your ReadyNAS. If you are running HAProxy locally or ran it in Docker as described, you will need to connect to port 8081 on your computer. Likely, http://localhost:8081/admin will take you to the admin UI, where you will need to log in.
With this in place, I was able to access the UI over http. Once you reach that point, you can also enable SSH root access, which will come in handy for other modifications.
A peculiarity here is that the server itself believes it is called “starnas.office.local” and therefore needs to be addressed that way, but since my actual hardware was broken, I had transferred the disks into another unit I had (I temporarily removed its disks). That unit lives on my network at
192.168.63.234. Otherwise, the names and ip address could have all been the same in this configuration. On the other hand, this shows the flexibility of HAProxy.
This setup makes available a very insecure “opening” to access your ReadyNAS, and therefore it should probably be removed when you don’t need it. Simply terminate the command used to run HAProxy, and use it again if you need it again.