Rescuing a NetGear ReadyNAS, a new NAS is born!
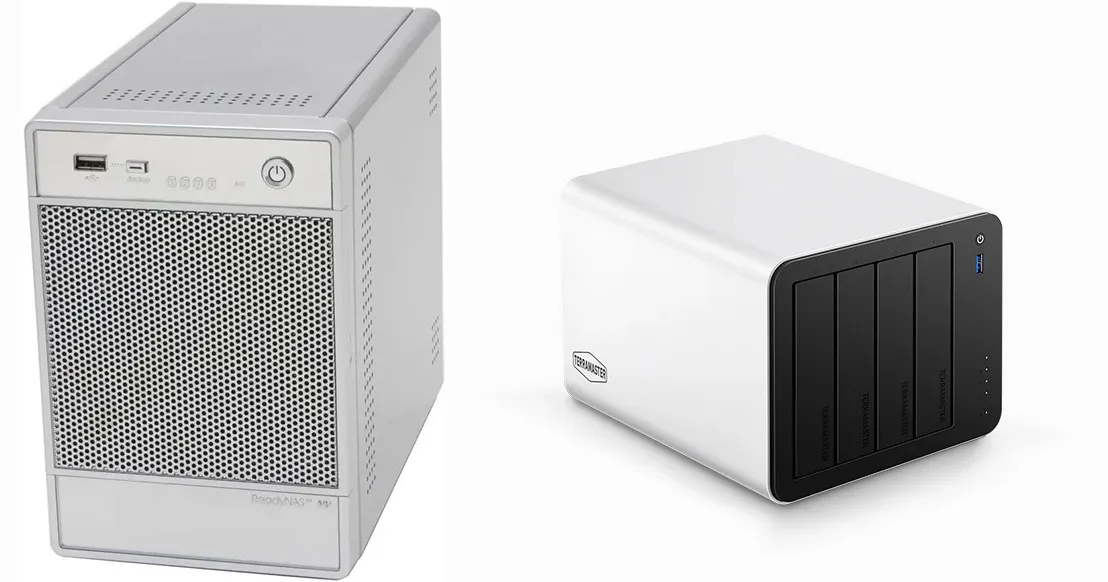
I have owned three NetGear ReadyNAS units over the years (NV2, NV+, Ultra 4). Since I bought a higher-capacity one some time ago (the Ultra 4), the other two have been used for long-term image backups and similar purposes.
Then I outgrew the NetGear UltraNAS as well, and a new NAS unit was born: a TerraMaster F4-425 Plus running TrueNAS (which I preferred over the native NAS solution from TerraMaster). My version is equipped with:
- Intel® N150 Quad-Core processor, Max burst up to 3.6 GHz
- 32 GB RAM
- 1 x HUADISK 128GB M.2 2280 NVMe SSD for TrueNAS operating system
- 2 x Crucial T710 PCIe Gen5 NVMe 1TB SSD in a mirrored configuration for apps and other “fast” storage
- 4 x WDC_WD120EFBX units (Western Digital Red Plus, 12TB, helium-filled). These disks were selected over WDC_WD121KFBX, which is air-filled, for their low noise characteristics.
- The two 1TB SSDs were configured as a mirrored pair, and the four 12TB drives were put in a RAIDZ2 configuration. This results in 50% effective storage capacity (24 TB, or 21.01 TiB in practice), but data safety, as up to two drives can be lost without data loss.
- Some comment that this configuration is too slow, but since my unit is on a 1Gb Ethernet network, the disk performance is still able to saturate the network bandwidth. This might not be the best choice if you use a faster network!
After commissioning this unit, I wanted to transfer everything from the three NetGear units to the new NAS and then wipe the units so I could sell or give them away. Comparatively speaking, they are slow, but they could still serve somebody with lesser needs than mine. This, however, is where I ran into a snag.
Accessing the shared volume(s) over the network was not a problem, provided you still remember the password(s). Wiping the data required using the admin ui, or so I thought. After applying my solution below, I found no such function in the UI and determined that a factory reset would be required.
More on that factory reset below. I did not want to do the factory reset, though, because of the old SSL/TLS issue described here: a future owner might have problems with that as well, and not have the know-how to deal with it. A factory reset would leave the unit without SSH access enabled, and a browser would be needed to re-enable it, creating a catch-22.
A possible alternative is to use the SSH access to execute a secure removal of all your files with the
srmcommand.
These units are administered through a browser, but their configuration redirects all admin access to the “https” protocol. That in itself is fine, but the supported TLS versions on these units are very old. Consequently, any modern browser refused to connect to the secure pages. A suggested workaround found on the Internet involved configuring browsers to accept these older versions or to run much older versions of these browsers. All of that failed for me.
Solution
I had the forethought, all those years ago, to enable SSH access to these units, and that still worked. After some sleuthing, I found the relevant web server (Apache) configuration and was able to modify it so that the redirect to https no longer happened. After that, I had normal access. This does come at the expense of some security, but on your own network, and for a brief period to do what you need to do, I do not consider that a problem.
Below, I will outline the steps taken.
SSH access
SSH access initially failed because, here too, the supported protocol is considered too old. However, one can tell ssh to allow them. I used:
1
$ ssh -o KexAlgorithms=+diffie-hellman-group1-sha1 -o HostKeyAlgorithms=+ssh-rsa root@<nas ip address>
With that, I could supply the password, and I was “in.”
Apache (re)configuration
You will make changes (using your favorite editor) in this file: /etc/frontview/apache/Virtual.conf. Make two modifications, shown below, by commenting out the rewrite rules that force https.
1
2
3
4
5
<   RewriteRule ^/admin/(.*)$ https://%{SERVER_NAME}/admin/$1 [R,L]
<   RewriteRule ^/admin$ https://%{SERVER_NAME}/admin
---
>   #RewriteRule ^/admin$ https://%{SERVER_NAME}/admin
>   #RewriteRule ^/admin/(.*)$ https://%{SERVER_NAME}/admin/$1 [R,L]
After that, reboot the unit to apply the change. It takes a while to restart, but once ready, you will be able to browse to http://<nas ip address>/admin. The connection will not be secure (https), but you will still need to enter a password.
Unit did not power up
My oldest unit would not power up, with or without disks inside. I suspect the power supply is gone. Once I rescued the files from the ReadyNAS NV+, I took out the disk trays and inserted the ones from the unit that would not power up. That is how I recovered the data. This is not an option if you don’t have a spare NetGear NAS with the same basic hardware though.
Factory reset
I found that configuration files have a mirror version in /etc/default, and I suspect these are the ones copied during a factory reset. If I am right, one could make modifications there so that the necessary changes would not be lost in a factory reset. I haven’t tested this theory yet, though! If it were to work, one has to be extremely careful, because if these files were messed up, even a factory reset might not save you.